Quickstart
1. Turn the outline system on
Section titled “1. Turn the outline system on”Tools > Outline Zero > Validate Setup, then press Add Outline Zero feature.
That button sets up everything the package needs in your project. It is undoable, and it is the only project-level setup there is.
If you prefer to do it by hand: select the renderer asset your project uses (a
UniversalRendererData asset in your Settings folder), press Add Renderer Feature and
choose Outline Zero. Then create a settings asset with Assets > Create > Outline Zero >
Settings and assign it to the feature.
2. Add the Outlined component
Section titled “2. Add the Outlined component”Select any object with a renderer and use Add Component > Rendering > Outlined.
Put it on the parent of a multi-part object and the whole thing gets one outline around its silhouette, not an outline per piece.
3. That is it
Section titled “3. That is it”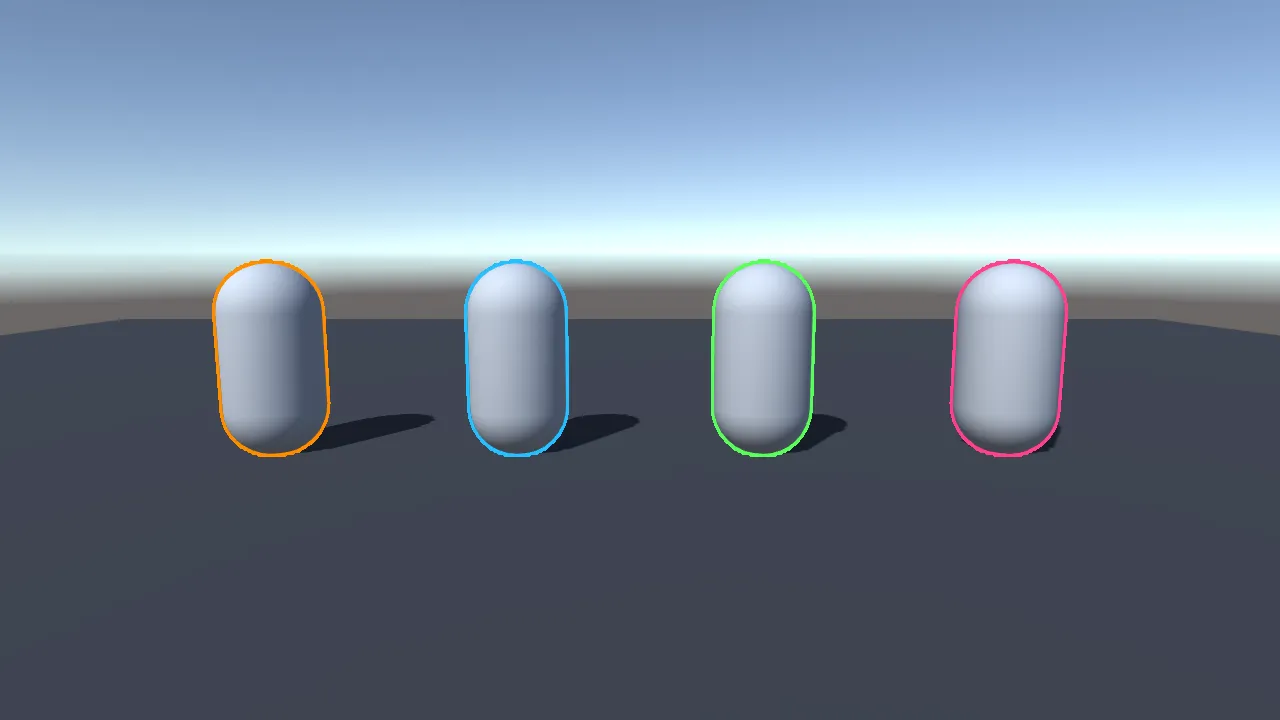
No component, no outline. That is the whole rule.
Changing how it looks
Section titled “Changing how it looks”Select the renderer asset and click the Outline Zero feature to see its settings. There are four layers, and each object picks one. A layer has:
| Enabled | Turn a layer off and its objects stop being outlined, at no cost. |
| Color | The outline color. Its alpha makes the outline see-through. |
| Width | How thick, from 1 to 16 pixels. |
| Softness | 0 is a crisp edge, 1 fades out completely. |
Two more settings are worth knowing on day one:
- Rendering Mode. Leave it on Performance unless something tells you otherwise. See Rendering Modes.
- Downscale. How much detail the outline is built from. 2 is the default and what the published performance numbers use. 1 is sharper on very thin shapes and costs more.
Nothing appeared?
Section titled “Nothing appeared?”Select the outlined object and look at the Inspector. If the outline system is not set up, if the object’s layer is switched off, or if the object is in Pro Mode with the wrong settings, the component says so and offers to fix it.
Still stuck? Troubleshooting lists the six causes in the order they actually happen.